View Issues
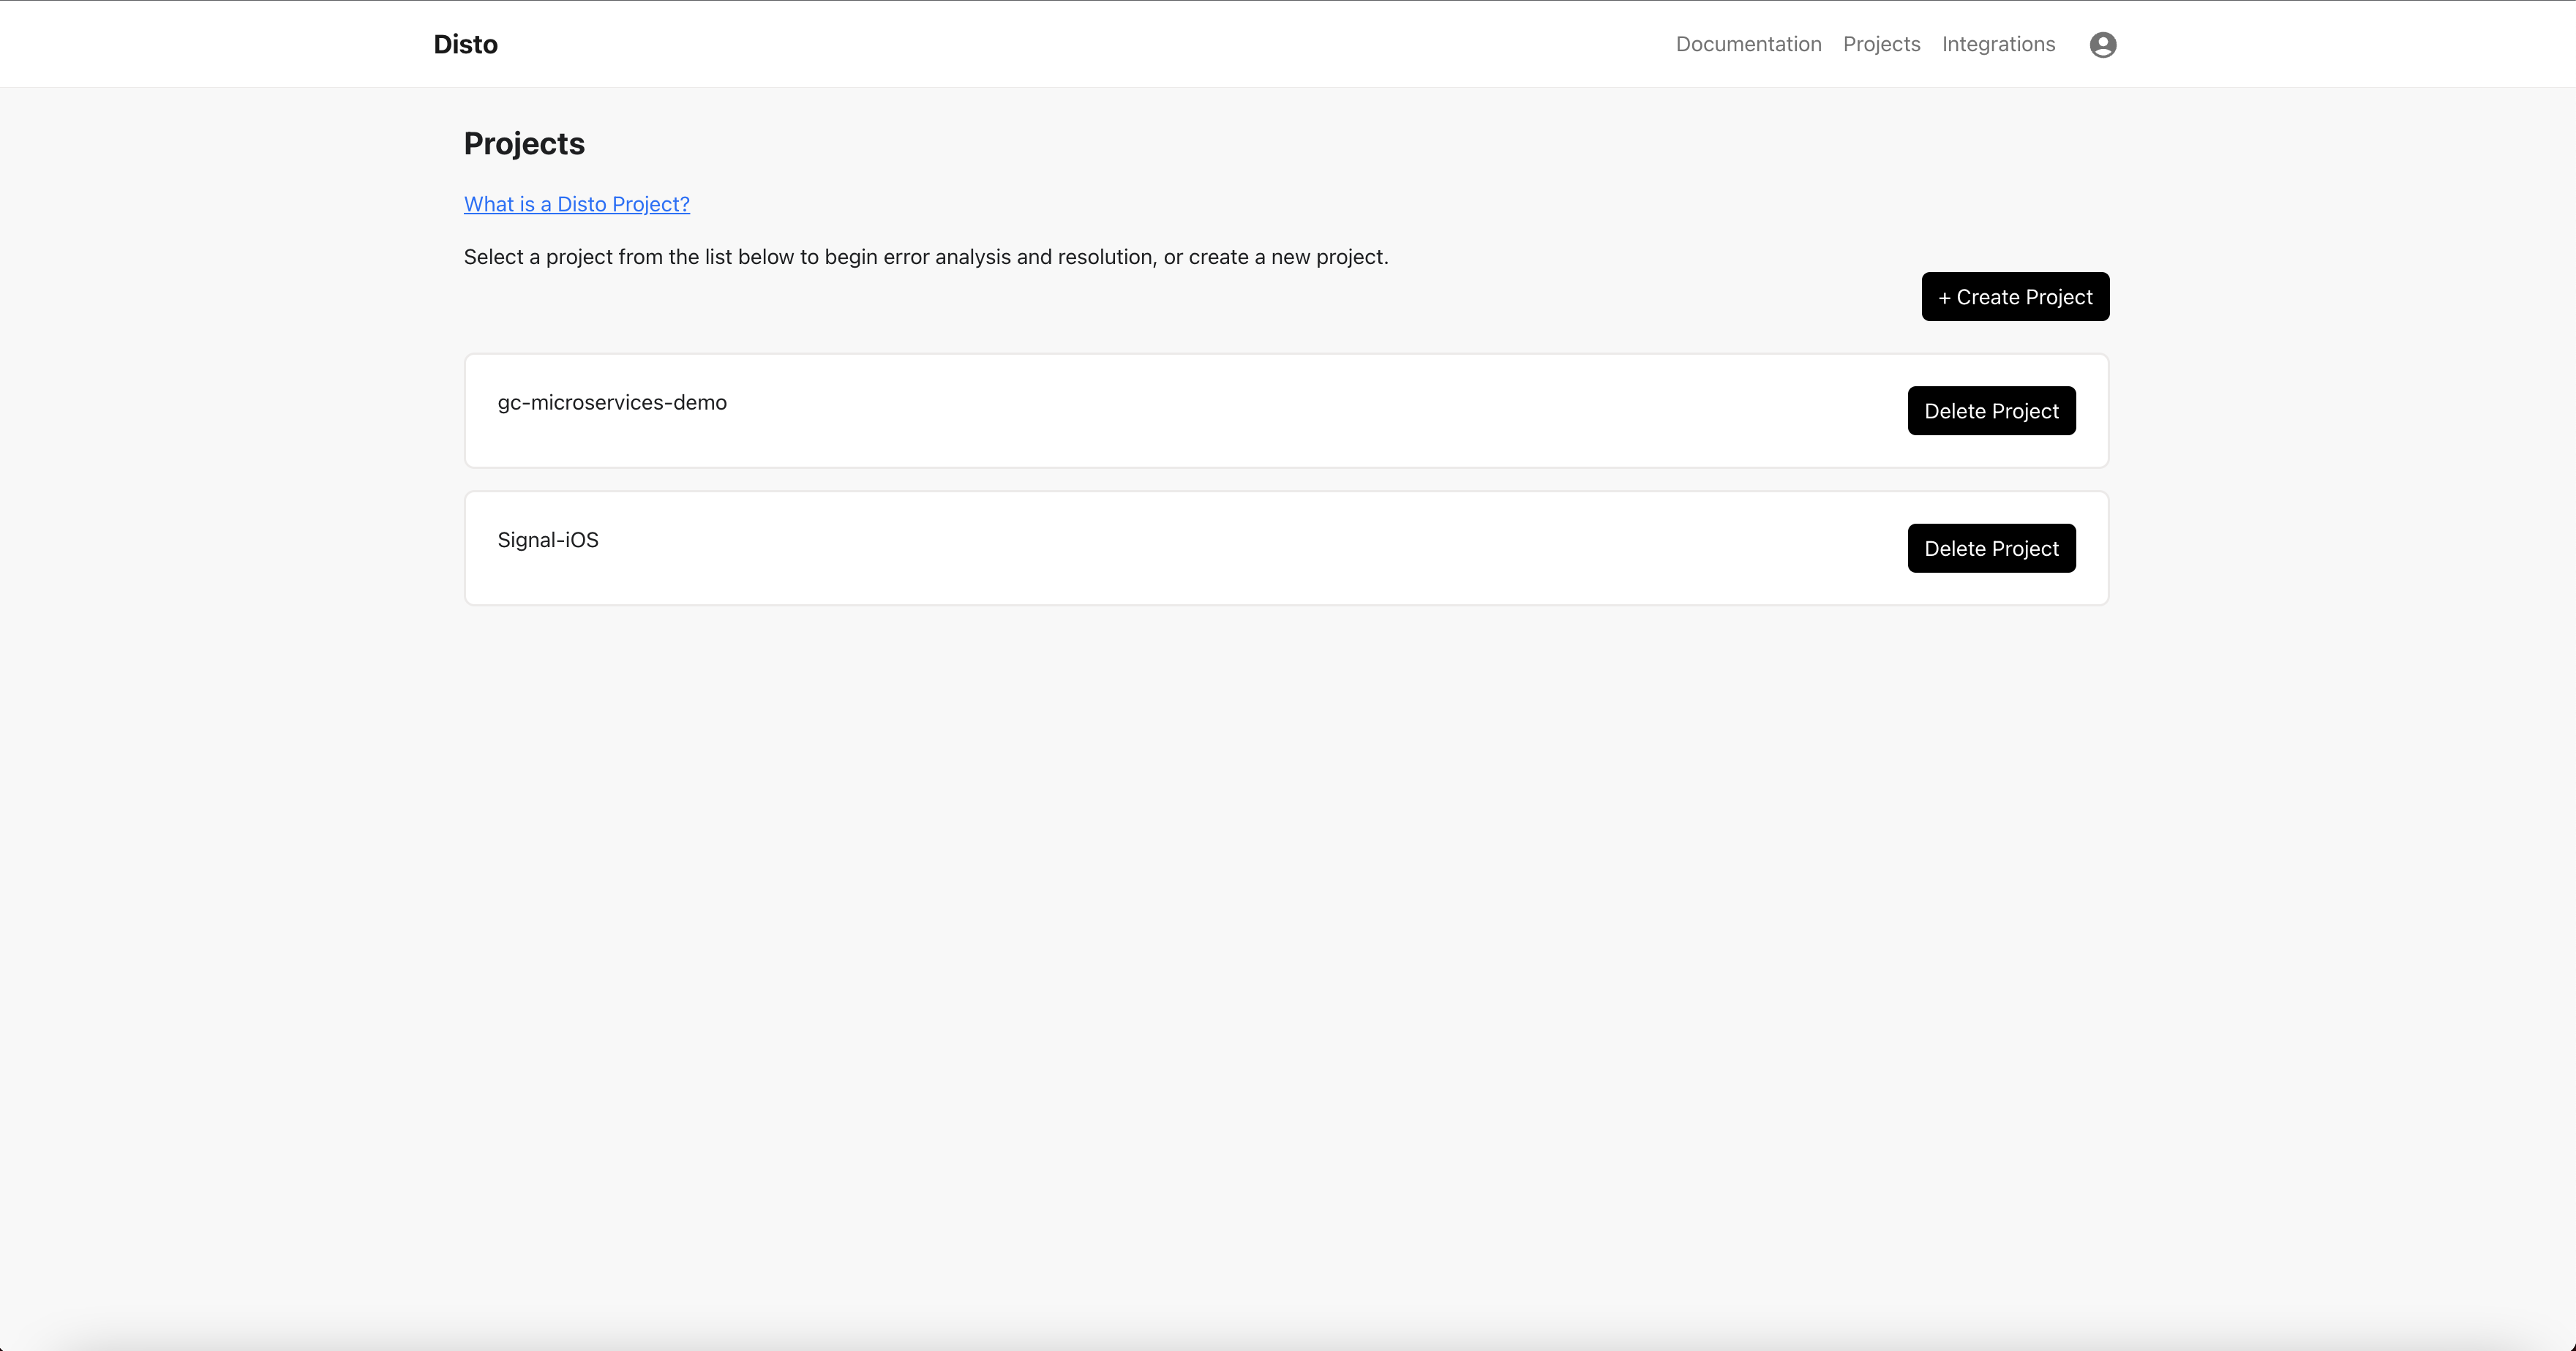
- Click on “Projects” in the navigation bar, and click on your project.
- Click on the issue. Disto shows the root cause, solution, and, if relevant, specific code changes to solve the issue and steps to reproduce the issue.

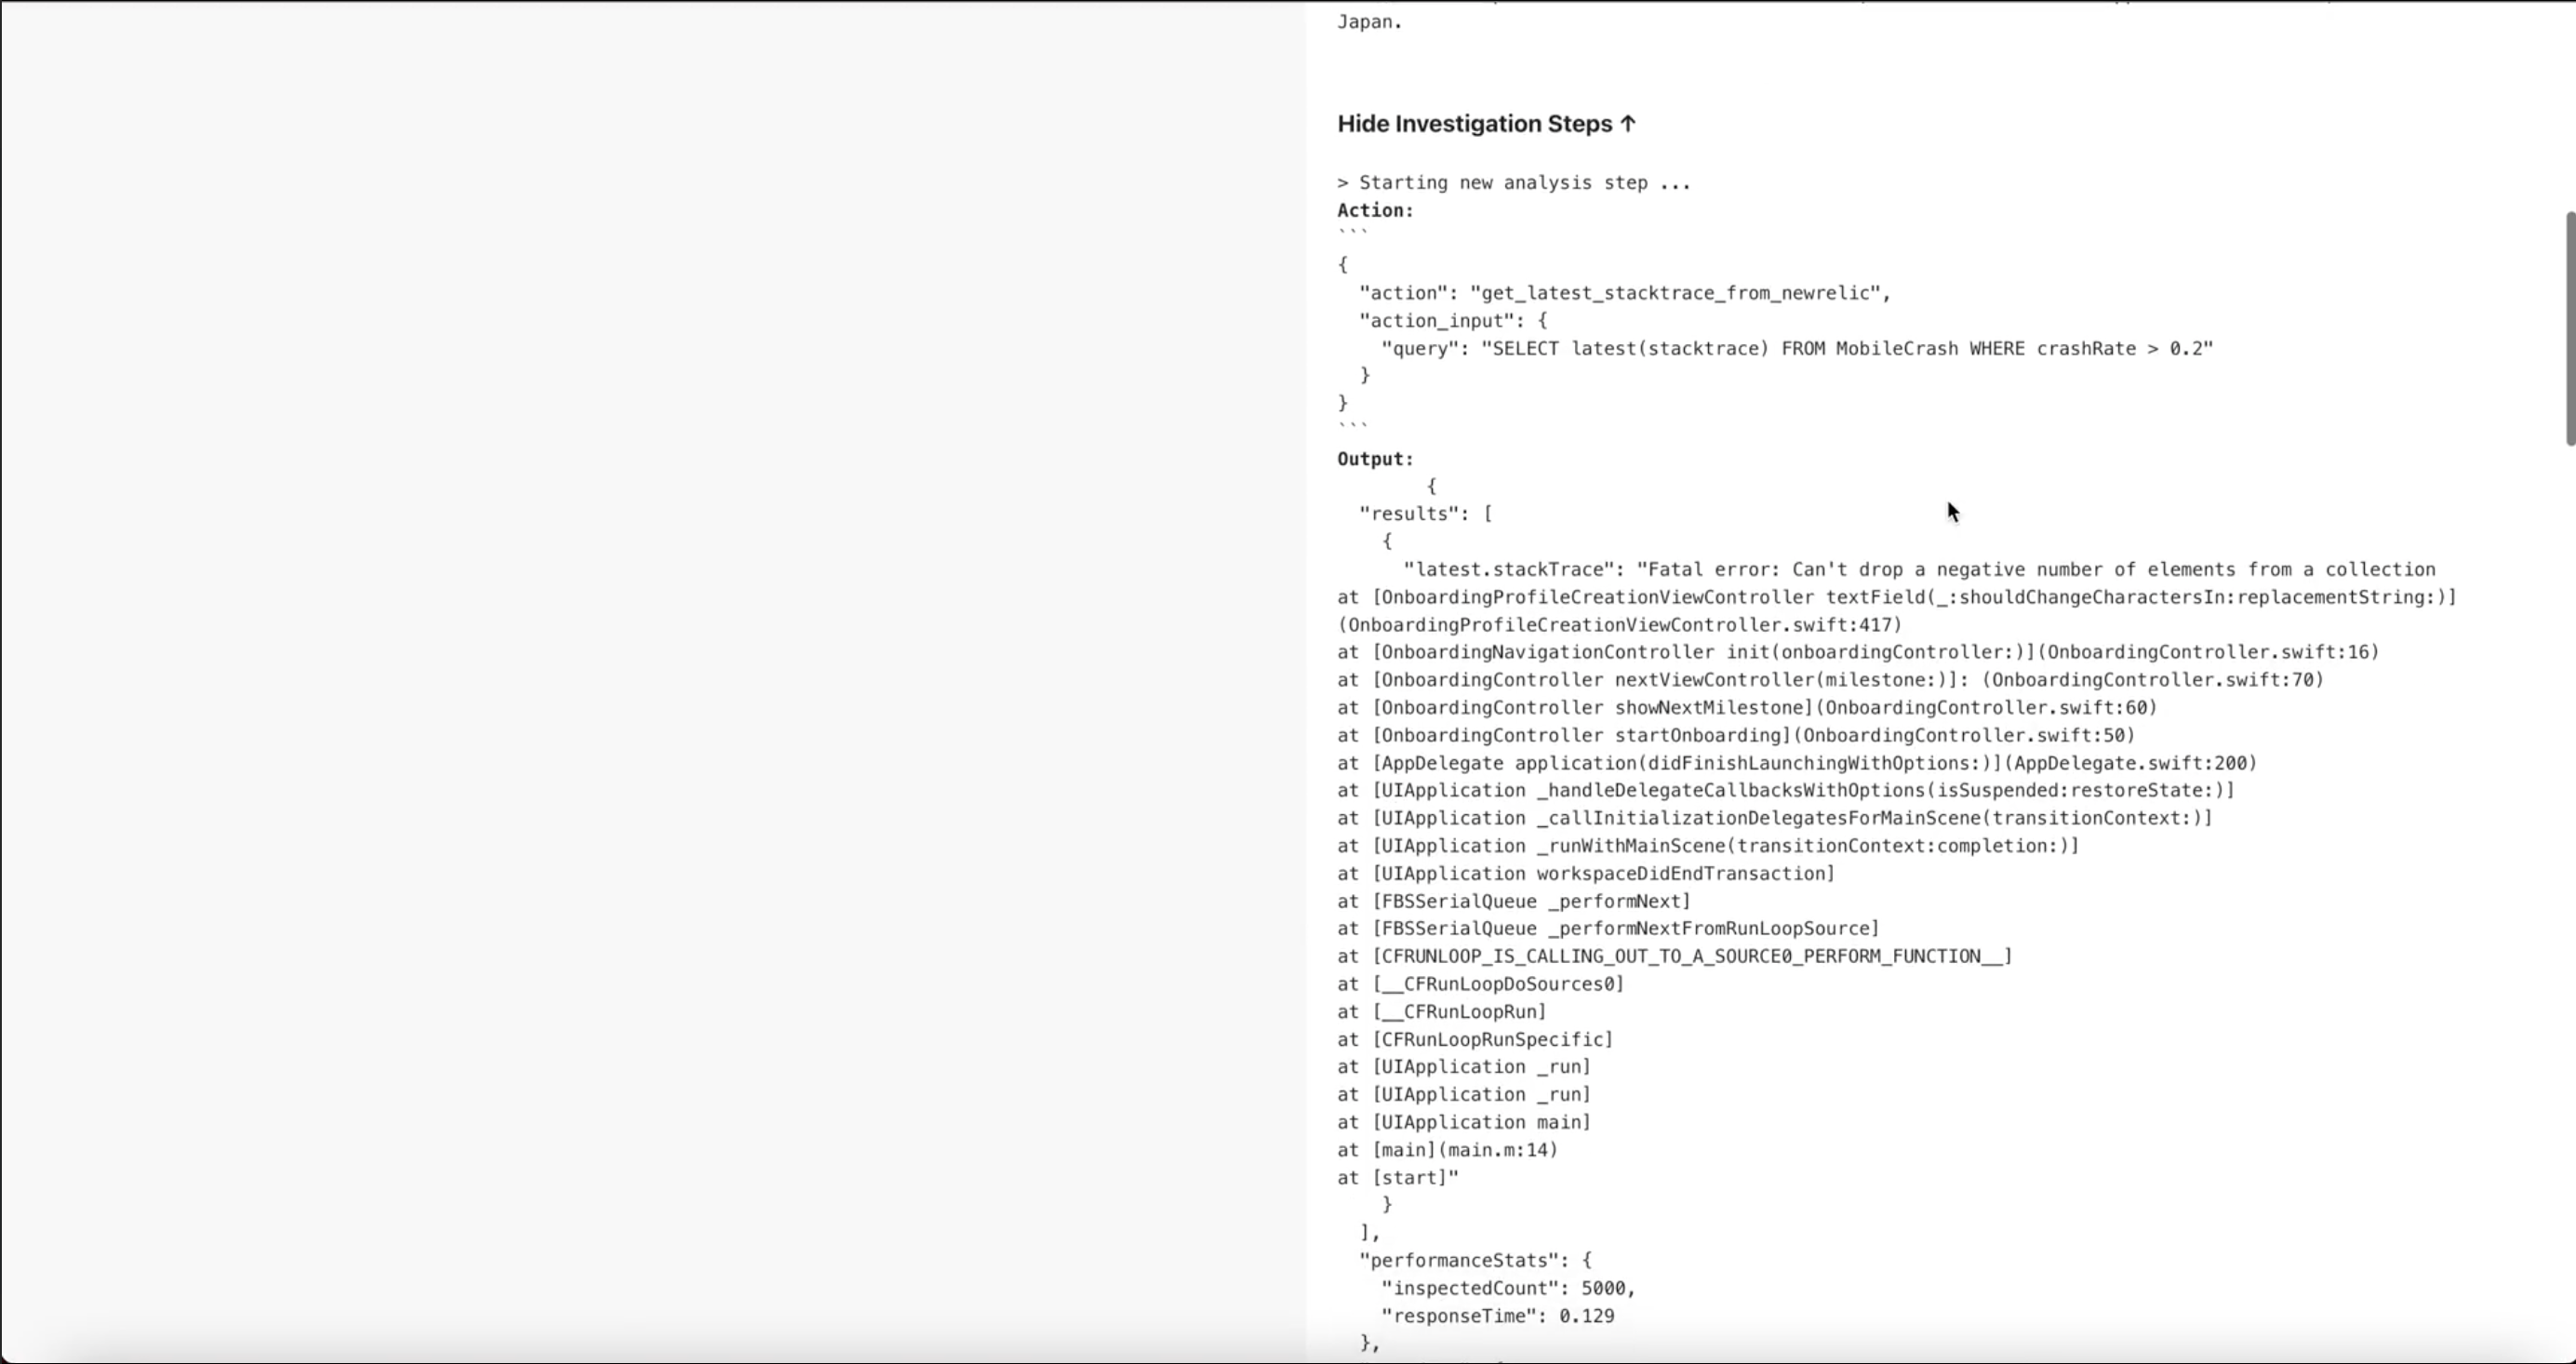
- If you click “Show Investigation Steps”, you can see the steps that Disto took to investigate the issue, each of which include what command, query, or API call it performed, the result, and analysis of the result.
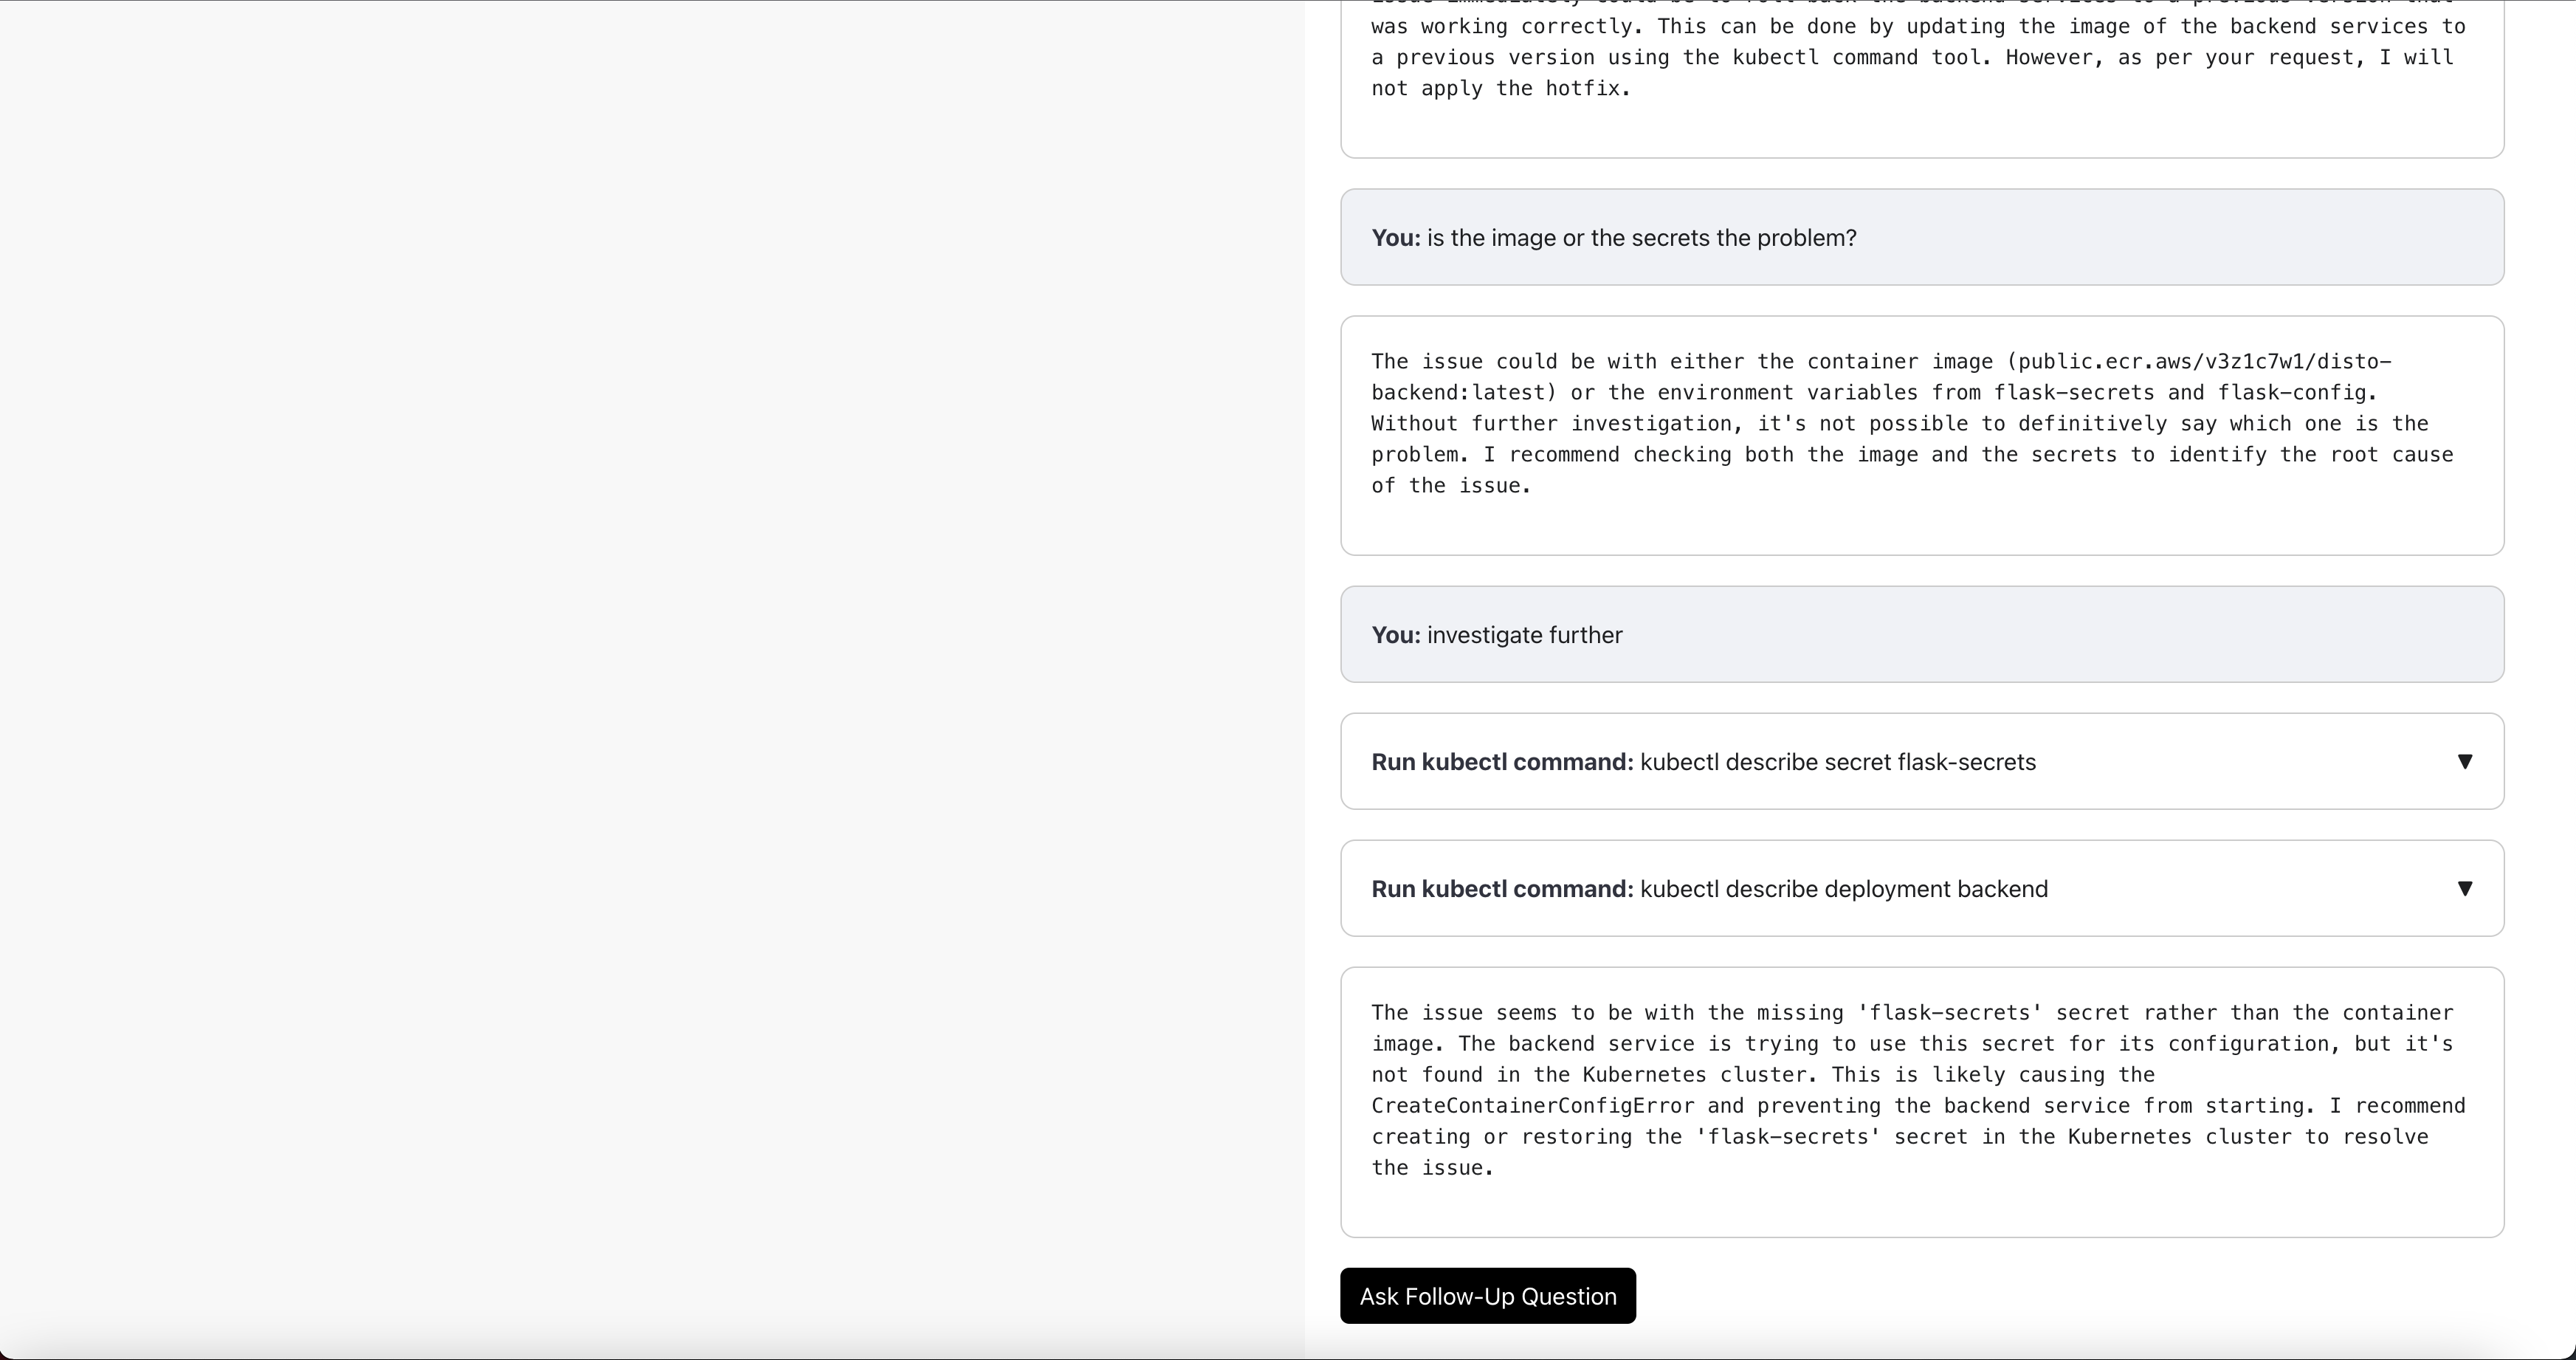
- If you would like to ask a follow up question (or provide feedback, or ask Disto to redo something), scroll down to the bottom of the investigation steps. Then click “Ask Follow-Up Question”. A text box will appear where you can input your question.
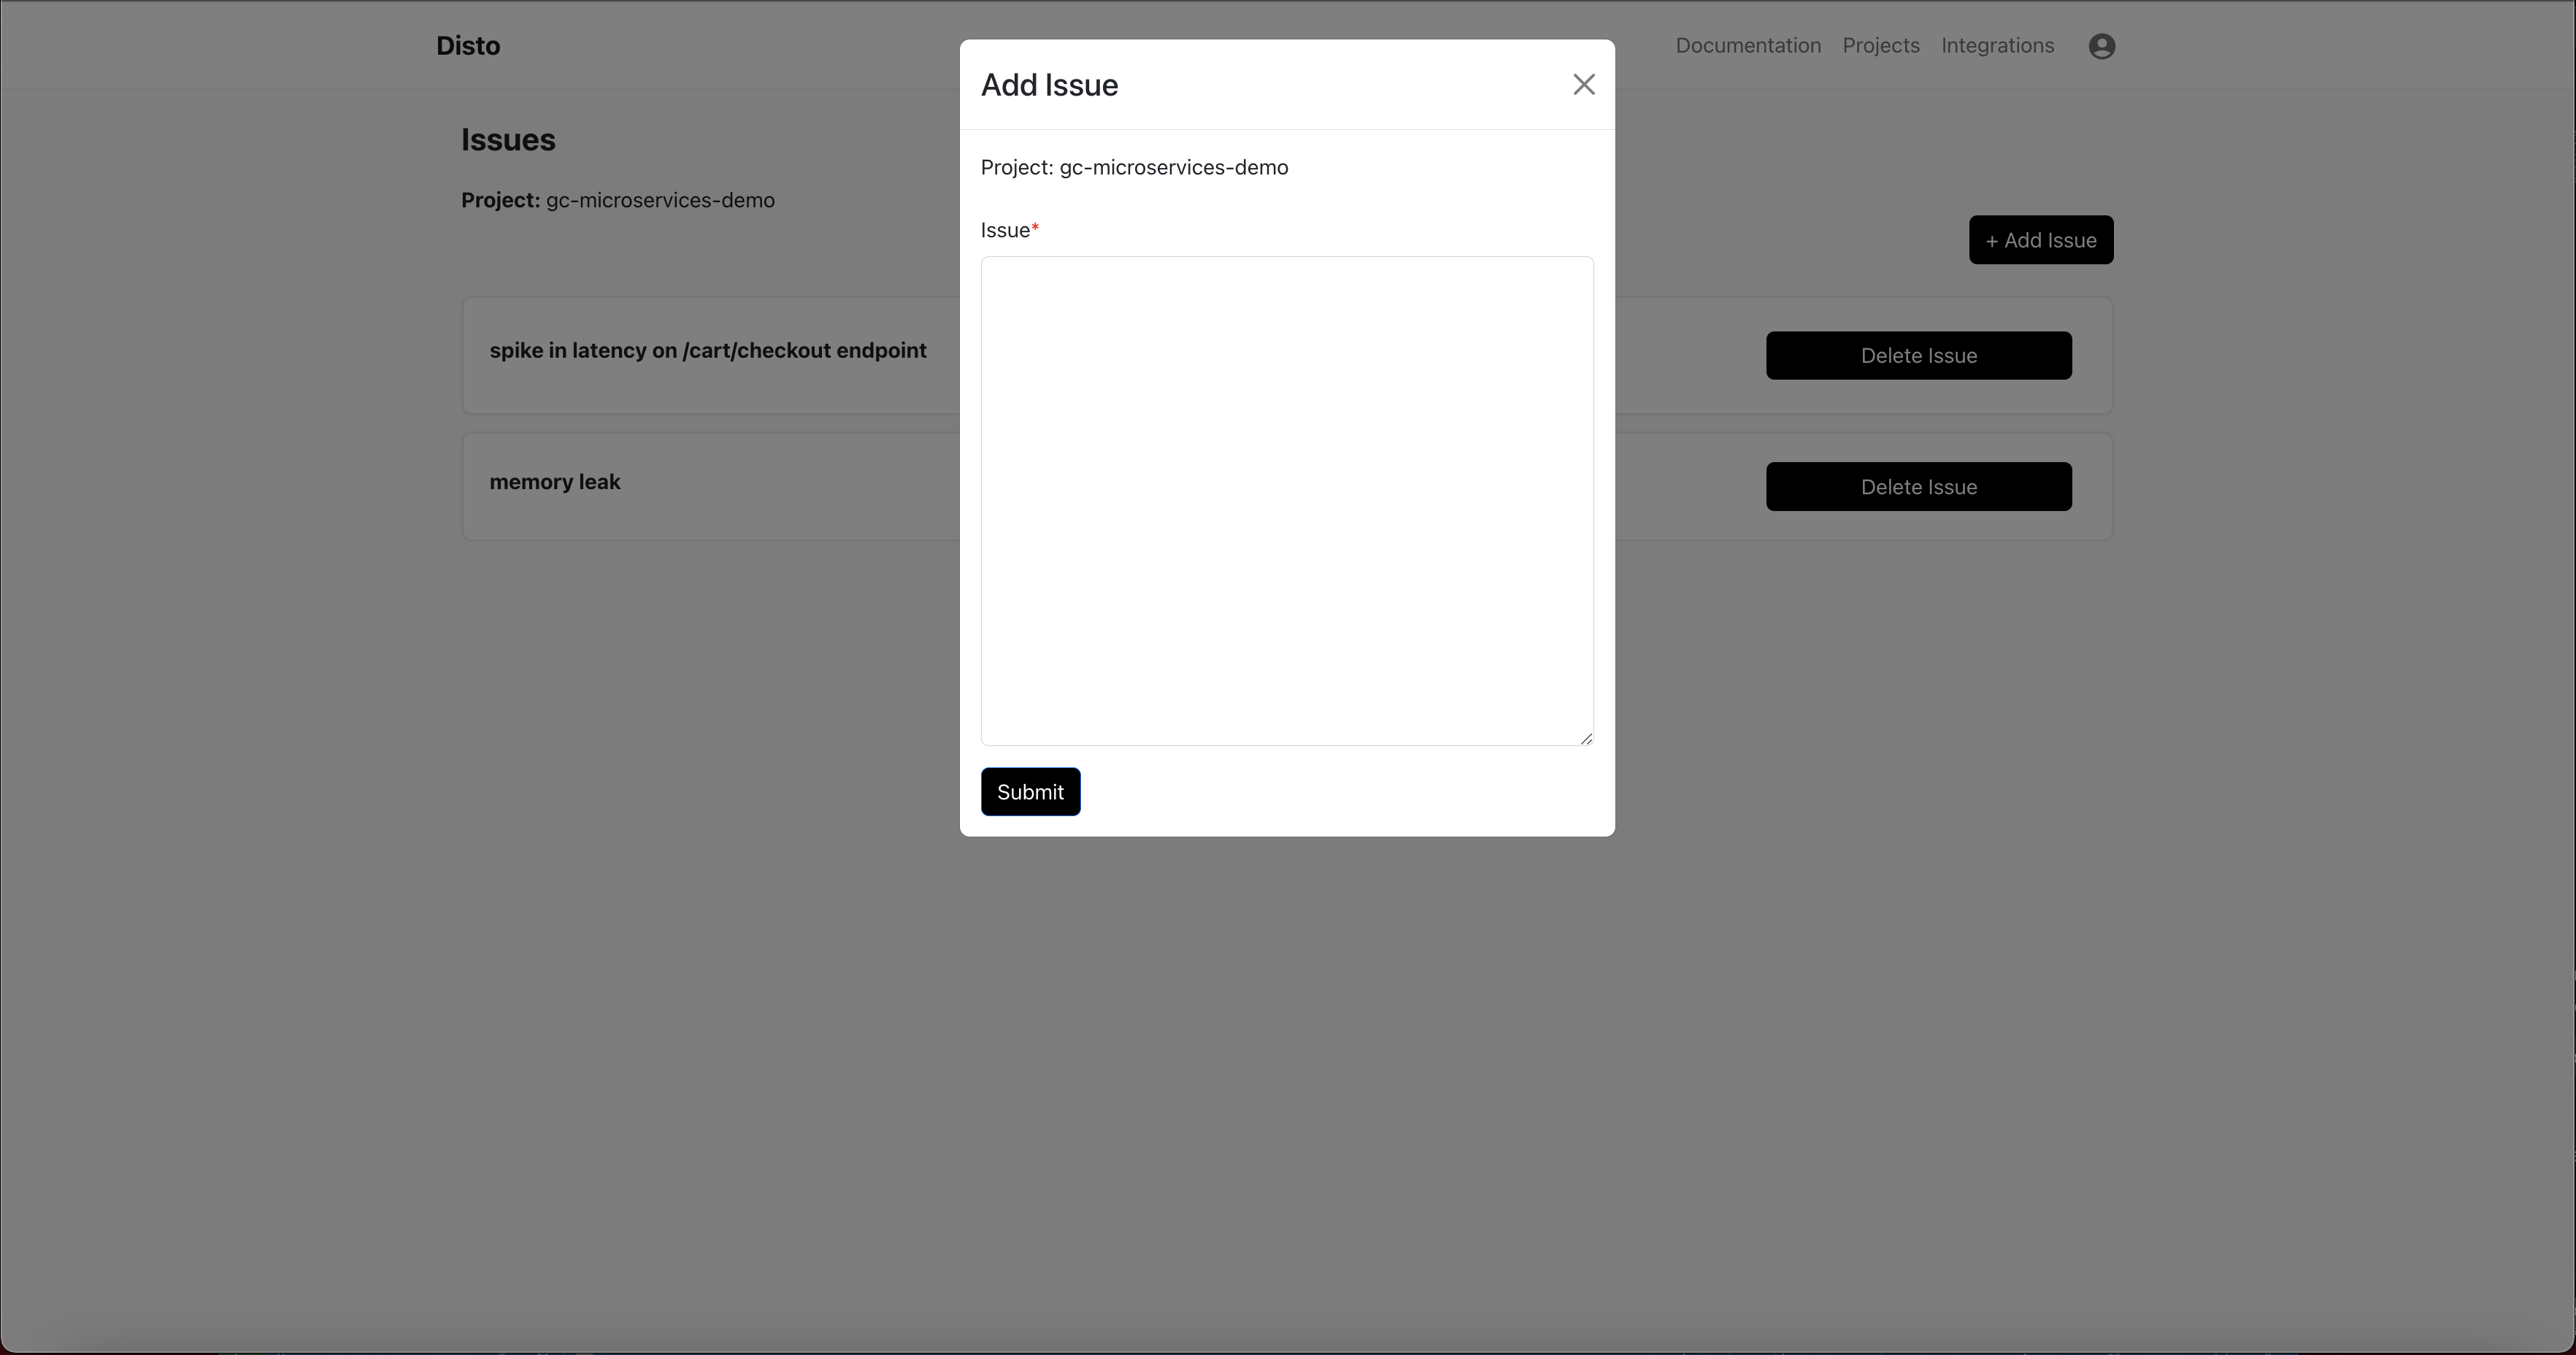
Manually add an issue
- Click on your project, then click on “Add Issue”. Add a description of the issue and any relevant information you have about it, including any alerts, error messages, logs, etc. Click Submit, and wait for Disto to process the issue and add it to your project. If Disto has been working on a fix for a while, refresh the page.
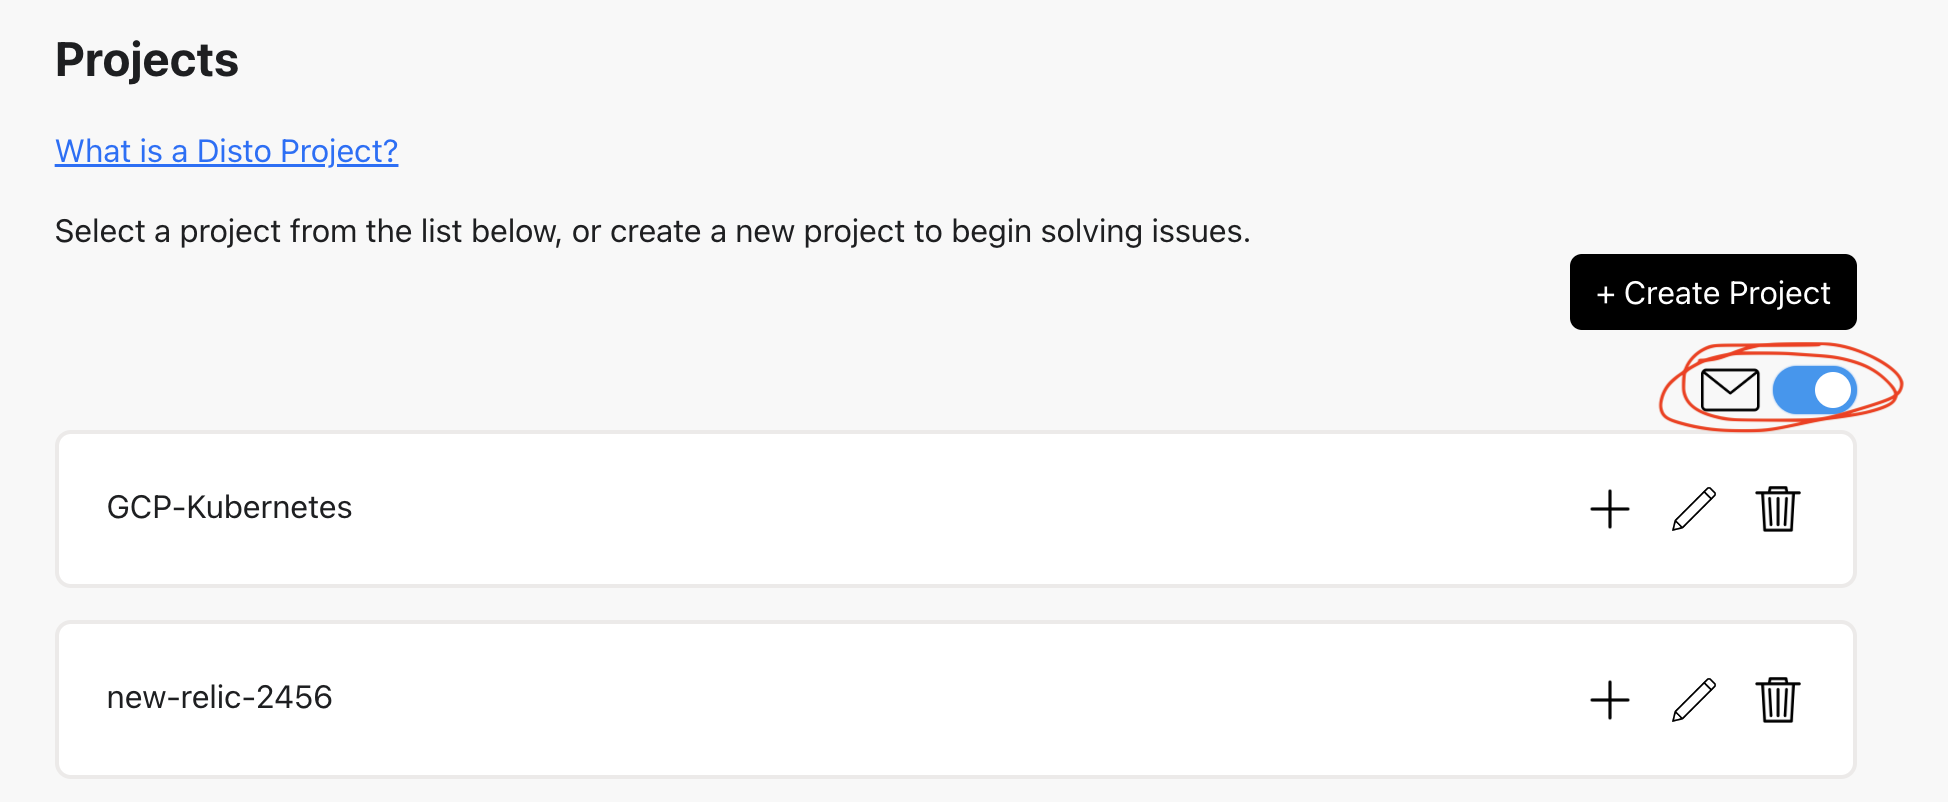
Receive email updates about an issue
- If you wish to receive an email when Disto has finished its root cause analysis, turn on email notifications: